Daily Cleaning Core Workflow Overview
1. Safety Prep
2. Core Cleaning
3. Verification
4. Documentation
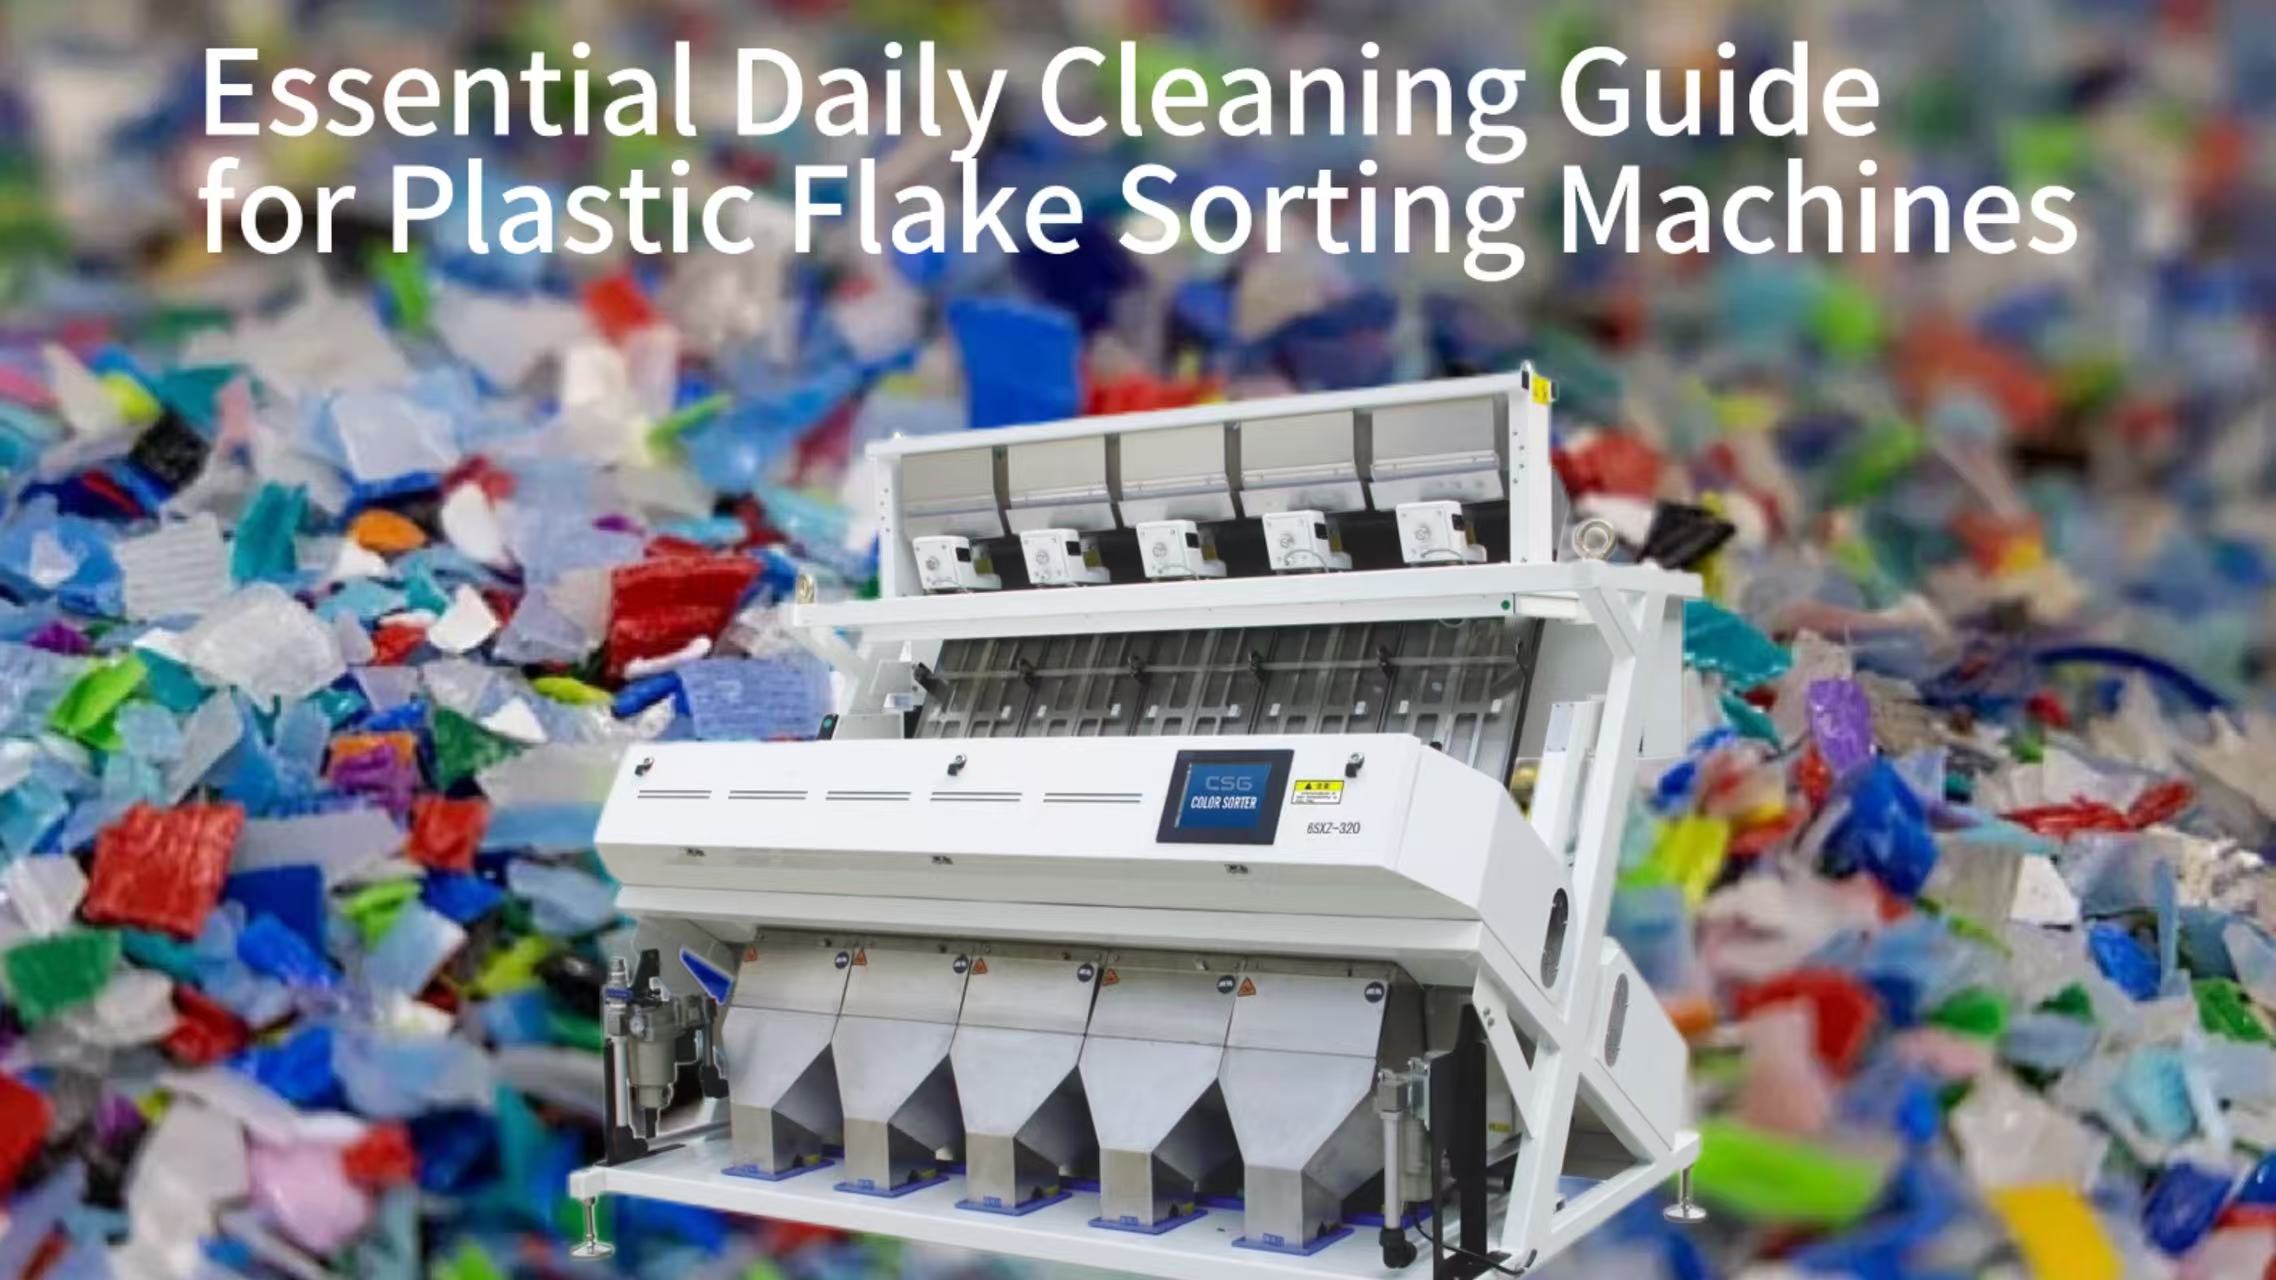
Maintaining peak performance in a plastic flake sorting machine requires consistent and thorough daily cleaning. Flake clogging is a primary cause of downtime and reduced sorting accuracy, leading to significant operational losses. This comprehensive guide outlines the critical daily procedures designed to prevent blockages and ensure your machine operates reliably at its stated capacity of processing 1-2 tons of material per hour with over 95% accuracy. We will explore the importance of this routine, the necessary preparatory steps, a detailed step-by-step cleaning protocol, post-cleaning verification methods, and how these simple tasks integrate into broader preventive maintenance and operator training strategies to maximize your investment and support efficient recycling operations.
The Critical Importance of Preventing Flake Clugging
Impact of Flake Clogging on Operational Metrics
| Operational Metric | Optimal Performance | Typical Impact of Clogging | Financial/Operational Outcome |
|---|---|---|---|
| Throughput | 1-2 tons/hour | 30-50% reduction | Lost production capacity |
| Sorting Purity | ≥98% | Drop to 85-90% | Reduced market value of recycled plastic |
| Machine Uptime | ≥95% | Unplanned downtime (1-8 hours/incident) | Increased labor costs + missed delivery targets |
| Sensor Lifespan | 3-5 years | Reduced to 1-2 years | Higher replacement costs |
Clogging Impact Cascade
Flake Clogging Occurs
Material Flow Obstruction → Sensor Misreadings
Reduced Accuracy + Unplanned Downtime
Financial Loss + Equipment Damage
Flake clogging is not merely a nuisance; it is a significant threat to the efficiency and economic viability of plastic recycling operations. When plastic flakes accumulate in critical pathways, they obstruct the smooth flow of material, causing backups that can halt the entire production line. This unplanned downtime directly translates to lost revenue, as modern sorting lines are designed for continuous operation. Furthermore, blockages can force flakes into sensitive areas, such as optical sensor housings or precision air nozzles, leading to potential damage that requires costly repairs and extends machine inactivity. A consistent daily cleaning routine is the most effective and cost-efficient defense against these disruptive events, ensuring uninterrupted processing and protecting the machine's internal components from wear and degradation caused by compressed or grinding flakes.
Impact on Sorting Accuracy and Purity
Clogging directly compromises the core function of the sorting machine: achieving high-purity material streams. When flakes are not presented in a perfect, single layer to the detection system, the sensors cannot analyze each piece individually. Overlapping or bunched flakes are either misidentified or missed entirely, resulting in contaminated output. For instance, a cluster containing both PET and PVC flakes might be ejected incorrectly, lowering the purity of both sorted streams. This degradation in output quality, potentially dropping below the machine's optimal 98% purity rate, diminishes the market value of the recycled plastic and undermines the economic justification for the sorting process. Daily cleaning of the feeding and scanning zones is therefore essential to maintain the data integrity required for precise material identification.
Economic Consequences of Machine Downtime
The financial impact of clogging-related stoppages extends beyond lost hourly throughput. Modern recycling facilities operate on tight margins, and consistent output is key to profitability. A single hour of unexpected downtime can mean tons of material left unprocessed, delaying orders and disrupting supply chains. Additionally, severe clogs often require manual intervention from technicians, adding labor costs to the equation. By investing 30 to 60 minutes in a structured daily clean, operators can prevent multiple hours of unplanned maintenance later. This proactive approach safeguards the plant's operational capacity and ensures a reliable flow of sorted material, which is crucial for meeting contractual obligations with buyers of recycled plastic flakes.
Preserving Sensor and Mechanical System Integrity
Beyond causing stoppages, accumulated plastic dust and micro-flakes pose a silent threat to the machine's sophisticated subsystems. Optical sensors, including near-infrared (NIR) and RGB cameras, rely on clear lenses and unobstructed views to function. A thin film of plastic dust can scatter light, leading to erroneous readings. Similarly, fine particles can infiltrate the bearings of vibratory feeders or the solenoid valves controlling the high-speed ejection air jets, causing premature wear and failure. Daily cleaning removes this abrasive contaminant before it can cause irreversible damage, significantly extending the service life of these high-value components and maintaining the system's overall mechanical health and sorting fidelity.
Pre-Cleaning Safety and Preparation Protocols
Pre-Cleaning Safety Workflow
1. Stop Material Feed
2. Power Down & LOTO
3. Depressurize Air System
4. Don PPE + Gather Tools
Mandatory PPE Requirements
| PPE Item | Purpose | Compliance Note |
|---|---|---|
| Safety Glasses | Protect eyes from dislodged dust/debris | Must have side shields |
| Cut-Resistant Gloves | Prevent injury from sharp flakes/metal edges | Nitrile or Kevlar material only |
| Dust Mask/Respirator | Filter fine plastic particles during vacuuming | Mandatory for dry cleaning |
| Hearing Protection (if needed) | Reduce noise exposure from air compressors | Required if noise >85dB |
Before initiating any cleaning procedure, a mandatory safety and preparation protocol must be followed to protect personnel and the equipment. The first and most critical step is to ensure the plastic flake sorting machine is completely powered down and isolated from its energy sources. This includes locking out and tagging out the main electrical panel to prevent accidental startup. Operators must verify that all moving parts, such as conveyor belts and vibratory trays, have come to a complete stop. Furthermore, the compressed air system supplying the ejection nozzles must be depressurized to eliminate the risk of unexpected actuation. Gathering the correct tools beforehand—such as non-abrasive brushes, lint-free cloths, approved cleaning solvents, and a industrial vacuum cleaner with static-safe attachments—streamlines the process and prevents the use of inappropriate materials that could scratch sensors or leave residues.
Machine Shutdown and Energy Isolation Procedure
A proper shutdown sequence is vital. This involves following the manufacturer's recommended procedure, which typically starts with stopping the material feed and allowing the system to run until all in-process flakes have cleared. This prevents leftover material from hardening or settling in hidden areas during the cleaning period. Once clear, the main power switch is turned off, and a physical lockout device is placed on the circuit breaker. This formal energy isolation procedure is a non-negotiable safety standard that ensures no electrical energy can re-enter the system while maintenance personnel are inside the machine's housing. It is also advisable to wait a few minutes for any residual charge in the machine's capacitors to dissipate, particularly around the high-voltage lighting systems used for advanced detection.
Gathering Approved Cleaning Tools and Materials
Using the correct tools is as important as the cleaning itself. Hard-bristled metal brushes or abrasive pads must be avoided at all costs, as they can microscopically scratch optical surfaces and pneumatic components. Instead, soft-bristled nylon brushes, compressed air dusters with moisture filters, and vacuum cleaners equipped with HEPA filters are recommended. For wiping optical lenses and windows, only lens-specific tissue or microfiber cloths designed for precision optics should be used. If a solvent is needed to remove sticky residues, it must be the manufacturer-approved type; common isopropyl alcohol is often suitable but should be confirmed. Having a dedicated cleaning cart with all these items organized saves time and reinforces a standardized, safe approach to the daily task.
Personal Protective Equipment (PPE) Requirements
Operators performing the cleaning must be equipped with appropriate Personal Protective Equipment. This minimum set includes safety glasses to protect eyes from dislodged dust and debris, cut-resistant gloves to handle any sharp plastic flakes or metal edges within the machine, and a dust mask or respirator, especially when dry-vacuuming or using compressed air, which can aerosolize fine plastic particles. In some environments, hearing protection may also be advisable if near loud air compressors. This PPE not only safeguards the operator's health but also promotes a culture of safety, emphasizing that even routine tasks like cleaning require formal precautions to mitigate risks associated with industrial machinery and recycled materials.
Step-by-Step Core Daily Cleaning Procedures
Core Cleaning Steps (Top-to-Bottom)
Hopper & Initial Feed Mechanism
Vacuum loose flakes; brush crevices
Optical Sensor Array
Soft brush + lens cloth for glass windows
Vibratory Feeder & Chutes
Vacuum + inspect motion mechanism
Ejection Nozzles & Separation Chamber
Vacuum nozzles; clear obstructions carefully
Collection Hoppers
Vacuum + wipe down to prevent cross-contamination
Critical Area Cleaning Specifications
| Cleaning Area | Approved Tools | Frequency | Key Warning |
|---|---|---|---|
| Sensor Windows | Soft brush + lens cloth + IPA (if needed) | Daily (every shift) | No pressure on glass; avoid abrasive materials |
| Ejection Nozzles | HEPA vacuum + manufacturer-approved pin | Daily (every shift) | Do not damage nozzle geometry |
| Vibratory Feeder | Nylon brush + industrial vacuum | Daily (every shift) | Check for loose fasteners during cleaning |
| Collection Hoppers | Industrial vacuum + damp microfiber cloth | End of shift | Prevent cross-contamination between batches |
The core cleaning routine focuses on the areas most susceptible to flake accumulation and clogging. A systematic top-to-bottom approach is most effective. Begin with the hopper and initial feed mechanism, where material first enters. From there, move sequentially through the material presentation system, the critical sensor scanning zone, the separation chamber, and finally the collection bins. At each stage, the goal is to remove all loose flakes, dust, and any foreign contaminants. The process should rely heavily on dry methods like vacuuming and brushing first, using compressed air with caution to avoid driving particles deeper into seals, and resorting to damp wiping only where necessary for optical clarity. Documenting any areas of persistent buildup during this process can provide early warnings of potential alignment or wear issues.
Cleaning the Optical and Sensor Array
The sensor array is the brain of the sorter. Gently remove any dust or film from the protective glass or quartz windows covering the NIR, visible light, and laser sensors using a soft brush followed by a lens cloth. Do not apply pressure. For machines utilizing sophisticated sensor-based sorting technology, even a minor smudge can distort spectral readings. Inspect the illumination sources, such as LED panels, for accumulated dust and clean them similarly to ensure consistent, high-intensity lighting. This step is crucial for maintaining the system's ability to distinguish between similar plastics like PP and PE, a task where accuracy directly depends on the quality of the raw sensor data captured from each flake.
Clearing the Vibratory Feeder and Chute Pathways
The vibratory feeder and any distribution chutes must be completely free of obstructions to create the ideal single-layer cascade of material. Use a vacuum to remove all residual flakes from the feeder bowl, tray, and liner plates. Inspect the amplitude and frequency settings visually to ensure no flakes are impeding the motion mechanism. For chute-based systems, ensure the channels are smooth and clear, paying special attention to junctions and drop points where material can catch and build up. A clean feed pathway is fundamental to achieving the material presentation required for the smart material feeding system to function correctly, preventing clusters that lead to both clogging and sorting errors downstream.
Detailed Cleaning of the Ejection and Separation Chamber
This area houses the high-precision air nozzles responsible for physically separating the flakes. Any blockage here will cause immediate and severe sorting failure. Carefully vacuum around the nozzle bank to remove all dust and tiny flakes. Inspect each nozzle orifice visually for plugging; a small pin or needle approved by the manufacturer can be used to clear any obstructions, but this must be done with extreme care to avoid damaging the nozzle's internal geometry. Wipe down the interior walls of the separation chamber to prevent electrostatic buildup, which can attract lightweight flakes and cause them to stray from their intended trajectory into the correct collection bin.
Vacuuming and Final Wipe-Down of Collection Hoppers
While not always a direct cause of machine clogging, clean collection hoppers prevent cross-contamination between batches. At the end of a shift, vacuum out any dust and fine material from the sorted product and reject hoppers. This prevents residue from a previous run—especially different polymer types or colors—from mixing into the next batch, which would degrade purity. A final wipe-down of the machine's exterior to remove dust and spillage improves the working environment, reduces fire risk from combustible plastic dust, and presents a professional appearance, fostering a culture of care and attention to detail that extends to all operational aspects.
Post-Cleaning Verification and System Checks
Post-Cleaning Verification Workflow
Initiate Post-Cleaning Checks
1. Visual Inspection
Check for tools/debris; secure panels
2. Functional Test Run
Test with known material (pure PET)
3. Calibration + Log Review
Verify sensor calibration; check error logs
4. Document Findings
Log completion + observations
Verification Checklist Metrics
| Check Item | Acceptance Criteria | Failure Action |
|---|---|---|
| Material Flow Uniformity | Single layer of flakes; no bunching | Re-clean feeder/chute pathways |
| Nozzle Activation | All nozzles fire with equal force | Inspect air pressure + clear blocked nozzles |
| Sensor Calibration | Calibration check passed (±0.5% tolerance) | Stop production; recalibrate sensors |
| Sorting Purity (Test Run) | ≥98% purity for test PET flakes | Re-inspect sensor windows + ejection timing |
Once cleaning is complete, a verification phase is essential before returning the machine to service. This involves more than just a visual inspection; it requires functional checks to confirm all systems are responding correctly. Begin by visually confirming that all access panels are securely closed and all tools have been removed. Then, proceed with a staged power-up sequence, often starting with the control system and sensors, followed by the mechanical feeders, and finally the ejection system. Running a brief test with a small batch of known, clean material allows operators to observe the machine's behavior, check that ejection is crisp and accurate, and verify that no new unusual noises or vibrations have appeared. This final sign-off step turns the cleaning routine from a passive activity into an active diagnostic tool.
Visual Inspection and Functional Test Run
Conduct a final visual sweep with a flashlight to check for any missed cleaning cloths, tools, or large debris. Then, initiate a controlled test run. Many modern sorters have a built-in "test mode" for this purpose. Feed a small, known quantity of clean, uniform plastic flakes (e.g., pure clear PET) through the system. Observe the material flow on the monitor; it should appear as a even, thin stream without bunching. Activate the manual trigger for the ejection system to ensure all air nozzles fire with equal force and sound. This test run confirms that the cleaning process has not inadvertently introduced a new problem, such as a misaligned sensor cover or a disconnected air hose, and that the machine is ready for full production.
Verifying Sensor Calibration and Software Logs
After the physical cleaning, check the machine's software interface. Look at the real-time data from the key sensors to ensure they are within normal operating ranges. Some systems perform an automatic calibration check on startup; confirm this has passed successfully. Review any error or warning logs generated since the last cleaning. The absence of new blockage-related alerts is a good indicator. For highly advanced systems like an AI Sorter, you might also check that the machine's self-learning algorithms are active and that the classification confidence scores for known materials remain high. This digital verification complements the physical cleaning, ensuring the entire system—hardware and software—is aligned for optimal performance.
Documenting Cleaning Completion and Findings
Formal documentation closes the loop on the daily procedure. Record the date, time, name of the operator, and the completion of the task on a maintenance log sheet or digital platform. More importantly, note any observations made during cleaning, such as an unusual wear pattern on a feeder liner, a slightly damp patch in the feedstock, or a particular type of flake that seemed to cause more static cling. These notes are invaluable for predictive maintenance. They allow maintenance supervisors to spot trends, such as increasing dust levels that might indicate a need for upstream screening, before they lead to a major clog or system failure, transforming daily data into long-term operational intelligence.
Integrating Cleaning into a Preventive Maintenance Schedule
Preventive Maintenance Hierarchy
| Maintenance Level | Frequency | Key Tasks | Objective |
|---|---|---|---|
| Daily | Every shift (30-60 mins) | Clean sensors/nozzles/feeders; verify function | Prevent clogging; maintain basic operation |
| Weekly | Once per week (1-2 hours) | Check air pressure; tighten fasteners; inspect feeder liners | Maintain mechanical integrity |
| Monthly | Once per month (2-4 hours) | Calibrate sensors; inspect air filters; backup software | Ensure accuracy + system stability |
| Annual | Once per year (8-16 hours) | Replace worn parts; full system audit; deep cleaning | Extend machine lifespan (10+ years) |
Maintenance Integration Flow
Daily Cleaning
Base Layer
Weekly Checks
Mechanical Integrity
Monthly Calibration
Accuracy Assurance
Annual Service
Longevity & Performance
Daily cleaning is the most frequent layer of a broader preventive maintenance (PM) strategy. It should be explicitly scheduled, not left as an optional task when time allows. The PM schedule links daily, weekly, and monthly tasks, creating a holistic care plan for the plastic flake sorter. For example, while daily cleaning addresses dust and loose flakes, a weekly PM task might involve checking and tightening mechanical fasteners on vibratory feeders that could loosen from constant motion. A monthly task could be a more thorough calibration of the optical sensors or inspection of air compressor filters. This layered approach ensures that small issues are caught early, major components are serviced proactively, and the machine's design life of 10+ years is fully realized through disciplined care.
Synchronizing with Weekly and Monthly Maintenance Tasks
The daily cleaning checklist should be a standalone document but physically stored or digitally linked with the weekly and monthly PM guides. This integration reminds operators that their daily work is part of a larger system. A weekly task might involve using a specialized gauge to check the air pressure at the manifold supplying the ejection nozzles, ensuring it matches the specification for the types of flakes being sorted. A monthly task could involve backing up the machine's sorting recipes and software settings. By clearly differentiating the scope of each task—daily for basic operational readiness, weekly for system parameter checks, monthly for deeper component inspection—the maintenance program becomes manageable and comprehensive, preventing critical oversights.
Using Maintenance Software for Tracking and Alerts
Modern maintenance management software can greatly enhance this process. The daily cleaning task can be entered as a recurring work order that appears on the assigned operator's digital dashboard each shift. Upon completion, the operator can log notes and mark it as done, creating a permanent, searchable record. The software can then automatically schedule the associated weekly and monthly tasks, sending reminders to supervisors. This digital trail is invaluable for audits, for analyzing mean time between failures (MTBF), and for ensuring maintenance compliance across shifts and operators. It turns the ad-hoc cleaning ritual into a data-driven, accountable component of asset management, directly supporting operational Key Performance Indicators (KPIs) like overall equipment effectiveness (OEE).
Spare Parts Management Based on Cleaning Observations
The daily cleaning routine is a frontline diagnostic activity. Observations logged during cleaning—such as a cracked air nozzle tip, a fraying brush on a feeder, or a LED light that seems dimmer—should directly feed the spare parts inventory management system. If an operator notes the beginning of wear on a common part, the maintenance lead can order a replacement before it fails, minimizing future downtime. Keeping critical spares like nozzle arrays, sensor windows, and feeder liners on hand based on this real-world wear data ensures that when a part does reach the end of its life, the replacement is immediately available, and the machine can be returned to service swiftly, maintaining the high throughput it was designed for.
Training Operators for Effective and Safe Cleaning
Operator Training Workflow
1. Classroom SOP Training
2. Hands-On Demonstration
3. Supervised Practice
4. Competency Assessment
5. Refresher Training (Quarterly)
Operator Competency Assessment Criteria
| Assessment Area | Pass Standard | Evaluation Method |
|---|---|---|
| Safety Protocols (LOTO/PPE) | 100% compliance with all safety steps | Observation during practice |